创建通知
可以通过管理界面或者编程式创建通知。
管理界面
在应用程序安装此扩展组件之后,主菜单会包含 Notifications(通知消息) 项。Notifications browser(通知消息) 浏览界面展示创建的通知列表以及管理通知的按钮。
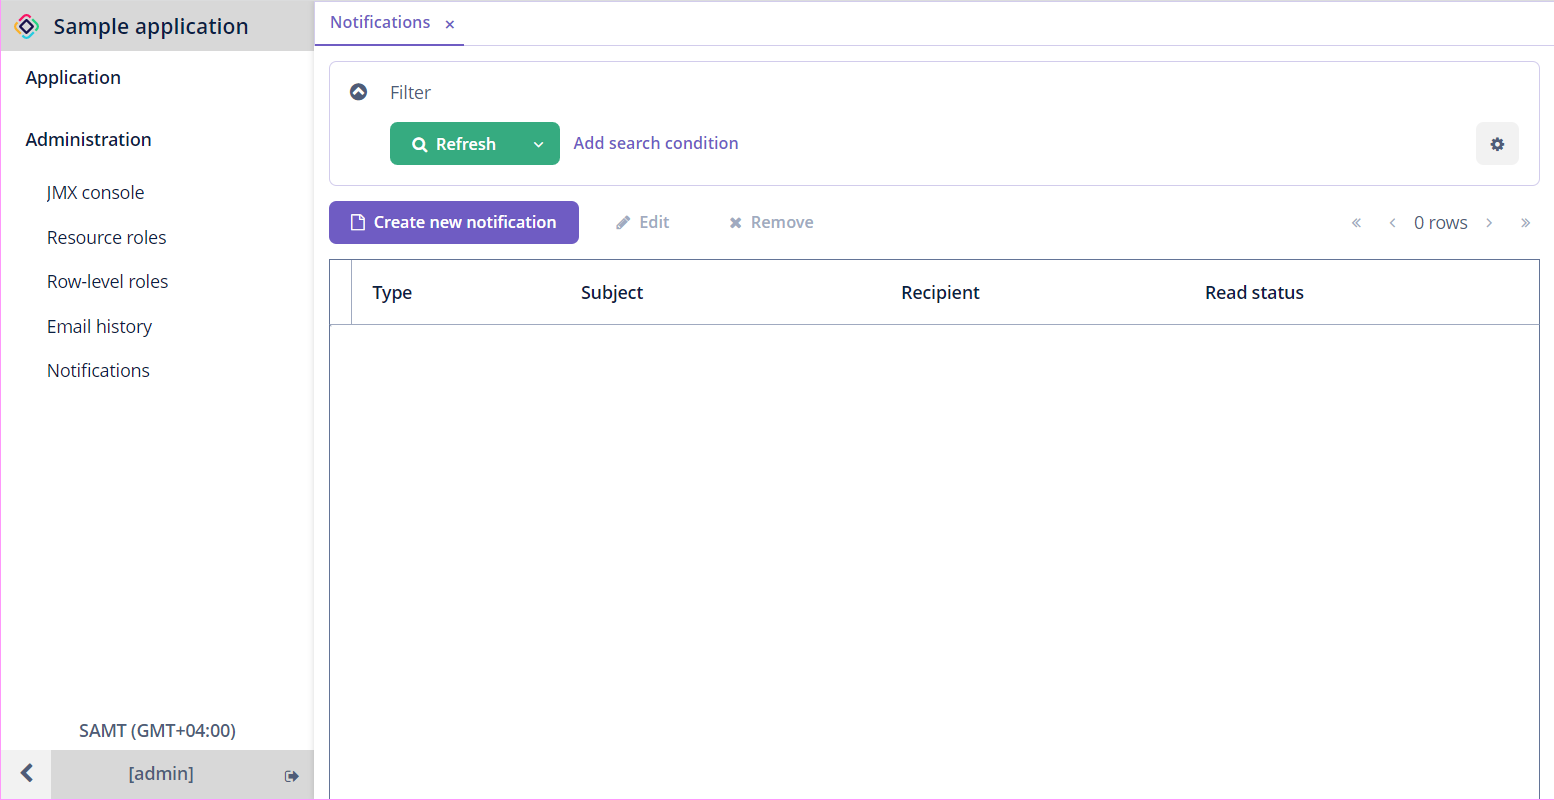
点击 Create new notification(新建通知) 按钮后会展示通知编辑界面。
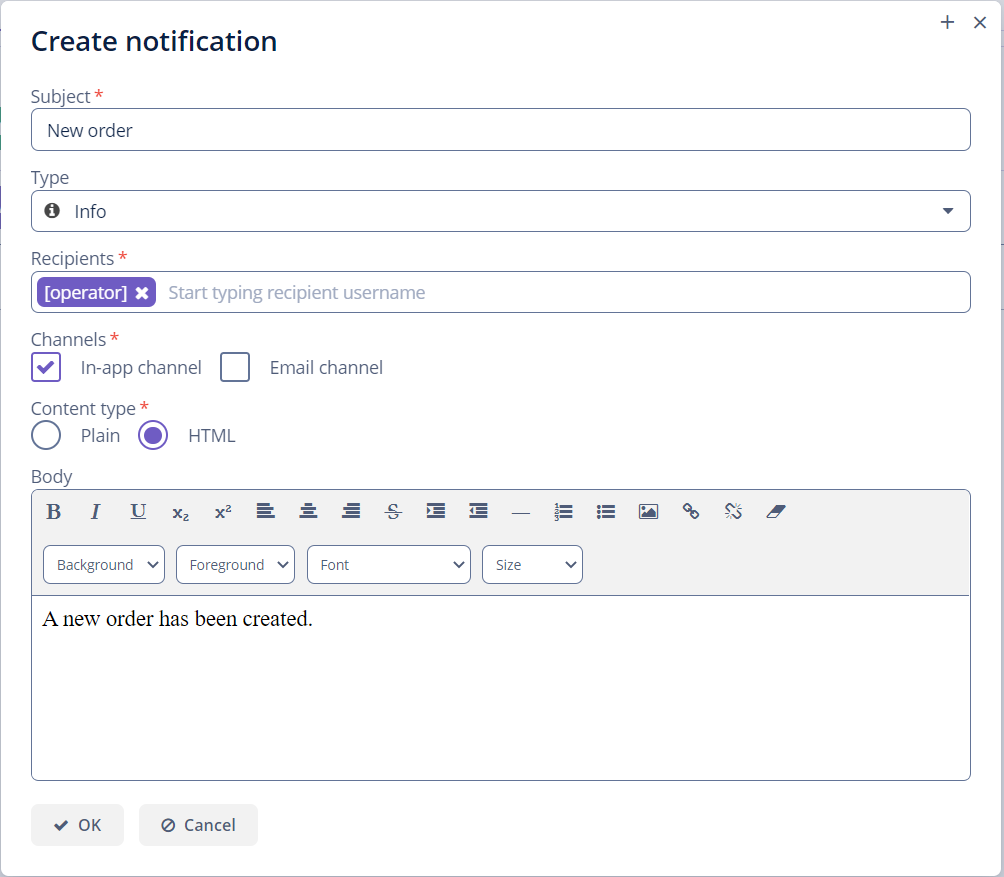
有下列字段:
编程式创建
NotificationManager 服务提供给用户发送通知的方法。
下面示例中,每当新订单(Order)创建时,会给用户发送通知。
private boolean justCreated;

@Autowired
private TextField<String> numberField;

@Autowired
protected NotificationManager notificationManager;

@Subscribe
public void onInitEntity(InitEntityEvent<Order> event) {
    justCreated = true;
}

@Subscribe(target = Target.DATA_CONTEXT)
public void onPostCommit(DataContext.PostCommitEvent event) { (1)
    if (justCreated) { (2)
        notificationManager.createNotification() (3)
                .withSubject("New order")(4)
                .withRecipientUsernames("admin") (5)
                .toChannelsByNames("in-app") (6)
                .withContentType(ContentType.PLAIN) (7)
                .withBody("A new order with number " + numberField.getValue()+ " is created.") (8)
                .send(); (9)
    }
}| 1 | 提交数据上下文后调用该方法。 |
| 2 | 检查实体是否新创建。 |
| 3 | 初始化 NotificationRequestBuilder,创建一个 NotificationRequest 对象。 |
| 4 | 定义通知的主题。 |
| 5 | 用提供的 username 设置通知收件人。 |
| 6 | 用名称确定通知的发送通道,可以使用 in-app 或 email。 |
| 7 | 设置通知正文内容类型。 |
| 8 | 设置通知正文。 |
| 9 | 创建并发送通知请求。 |
本页是否有帮助?

感谢您的反馈