获取 token
客户端获取一个 access token 的方式称为一种授权方式,access token 用于访问受保护的资源。授权服务扩展组件支持 OAuth 2.1 规范中描述的授权类型(且包含在 Spring Authorization Server 框架中)。此外,Jmix 授权服务扩展组件还添加了 资源所有者密码凭证 授权类型,该类型原来存在 OAuth 2.0 规范中,后在 OAuth 2.1 中删除。
支持的授权类型如下:
-
客户端凭证(Client Credentials)
-
授权码(Authorization code)
-
资源所有者密码凭证(Resource Owner Password Credentials)
-
刷新 Token(Refresh Token)
客户端凭证授权
客户端凭证授权 支持通过在请求中提供已注册客户端凭证的方式向授权服务获取 access token。
| 客户端凭证授权可用于不涉及用户交互的机器与机器之间的通信。 |
主要步骤:
-
在 Jmix 应用程序中注册客户端的 id 和密码。
-
为客户端分配 Jmix 资源和行级角色。
-
客户端应用程序使用客户端 id 和密码通过特定的 HTTP 请求获取 access token。
-
客户端应用程序可以通过获取的 token 访问受保护的 API 端点,但受限于客户端所分配的角色。
注册客户端的最简单方式就是添加标准的 Spring Authorization Server 应用程序属性:
# The client id is my-client
spring.security.oauth2.authorizationserver.client.myclient.registration.client-id=my-client
# The client secret (password) is my-secret
spring.security.oauth2.authorizationserver.client.myclient.registration.client-secret={noop}my-secret
# Enable Client Credential grant for the my-client
spring.security.oauth2.authorizationserver.client.myclient.registration.authorization-grant-types=client_credentials
# Client credentials must be passed in the Authorization header using the HTTP Basic authentication scheme
spring.security.oauth2.authorizationserver.client.myclient.registration.client-authentication_methods=client_secret_basic
# Use opaque tokens instead of JWT
spring.security.oauth2.authorizationserver.client.myclient.token.access-token-format=reference
# access token time-to-live
spring.security.oauth2.authorizationserver.client.myclient.token.access-token-time-to-live=24h
还有一组应用程序书库是 Jmix 特有的,用于定义为客户端所分配的资源和行级角色。该示例中,我们分配了两个资源角色:
-
rest-minimal(REST: minimal access) - 启用支持访问 REST API 端点。 -
user-management(User management) - 允许通过 REST API 操作 User 实体。
# my-client is the client id we configured previously
jmix.authserver.client.myclient.client-id = my-client
jmix.authserver.client.myclient.resource-roles = user-management, rest-minimal
user-management 角色内容如下:
@ResourceRole(name = "User management", code = UserManagementRole.CODE, scope = "API") (1)
public interface UserManagementRole {

    String CODE = "user-management";

    @EntityAttributePolicy(entityClass = User.class, attributes = "*", action = EntityAttributePolicyAction.MODIFY)
    @EntityPolicy(entityClass = User.class, actions = EntityPolicyAction.ALL)
    void user();
}| 1 | API scope 定义角色用于 REST API 请求。 |
在应用程序中定义了这些属性后,可以通过发送请求获取 access token 了。这里我们用 curl 命令行工具与 REST API 交互。
curl -X POST http://localhost:8080/oauth2/token \
   --basic --user my-client:my-secret \
   -H "Content-Type: application/x-www-form-urlencoded" \
   -d "grant_type=client_credentials"
在 Windows 上需要删除 \ 符号,并将命令写在一行内。
|
结果:
{
  "access_token":"hKhgNyGMTqaKd6prH-GoHF8zFVTSr9tKKyE3OnMoafRO4FT4Xq_cewHr28cIRITaRmF0olRXpVTyFdxcOPTAl8Vc7xopHrdNuXNXwEeBn7NSiEMvQXW5zO0dwMn_H8FQ",
  "token_type":"Bearer",
  "expires_in":299
}
access_token 属性中的 token 值就是可以用来在后续其他请求的 Authorization 请求头中使用的 access token了。Token 是有时效的,可以临时访问应用程序的资源。
除了在 application.properties 文件中注册客户端外,还可以通过提供 RegisteredClientRepository bean 的方式注册。参阅 Spring Authorization Server 文档 。
如果创建了 RegisteredClientRepository,则 application.properties 中的配置会失效。
|
授权码授权
请参阅 OAuth 2.1 规范 了解更多关于授权码的内容。
通过这个流程可以获取 Jmix 应用程序中真实用户授权的 access token。这种场景用在比如通过 Google 或 Facebook 登录其他网站。Jmix 会展示一个登录表单,用户输入正确的凭证之后,access token 会通过客户端应用程序和 Jmix 应用程序之间的一系列请求发放。这种授权类型的好处是,客户端不需要处理用户的凭证。
| 授权码授权可用于现代 Web 和移动应用程序,这些场景对安全性的要求非常高,且可以支持网页重定向的操作。 |
如需在 Jmix 应用程序中启用该授权类型,需要定义一个支持该类型的客户端。
spring.security.oauth2.authorizationserver.client.myapp.registration.client-id=myapp
spring.security.oauth2.authorizationserver.client.myapp.registration.client-secret={noop}myappsecret
spring.security.oauth2.authorizationserver.client.myapp.registration.client-authentication_methods=client_secret_basic
# enable required grant types
spring.security.oauth2.authorizationserver.client.myapp.registration.authorization-grant-types=authorization_code,refresh_token
# in this example we use the https://oauthdebugger.com website for testing
spring.security.oauth2.authorizationserver.client.myapp.registration.redirect-uris=https://oauthdebugger.com/debug
# use opaque tokens instead of JWT
spring.security.oauth2.authorizationserver.client.myapp.token.access-token-format=reference
# access token time-to-live
spring.security.oauth2.authorizationserver.client.myapp.token.access-token-time-to-live=1h
# refresh token token time-to-live
spring.security.oauth2.authorizationserver.client.myapp.token.refresh-token-time-to-live=24h
# use PKCE when performing the Authorization Code Grant flow
spring.security.oauth2.authorizationserver.client.myapp.require-proof-key=true
需要注意的是,默认情况下,Spring Authorization 服务器已经配置以下端点 URL:
-
授权端点:
/oauth2/authorize,例如,http://localhost:8080/oauth2/authorize -
token 端点:
/oauth2/token,例如,http://localhost:8080/oauth2/token
下面的示例中,我们使用 https://oauthdebugger.com 网站测试 token 的发放。该网站可以模拟一个需要访问 Jmix 资源并需要获取 access token 的外部应用。在我们自己的应用程序中,需要实现 OAuth 2.1 协议规范中的几个步骤:向授权端点发送请求、处理重定向、从中提取授权码、请求 token 端点将授权代码替换为 access token 等。
打开 https://oauthdebugger.com。按如下填写字段:
-
Authorize URI: http://localhost:8080/oauth2/authorize
-
Client ID: myapp
-
Scope: 留空
-
Use PKCE?: 勾选
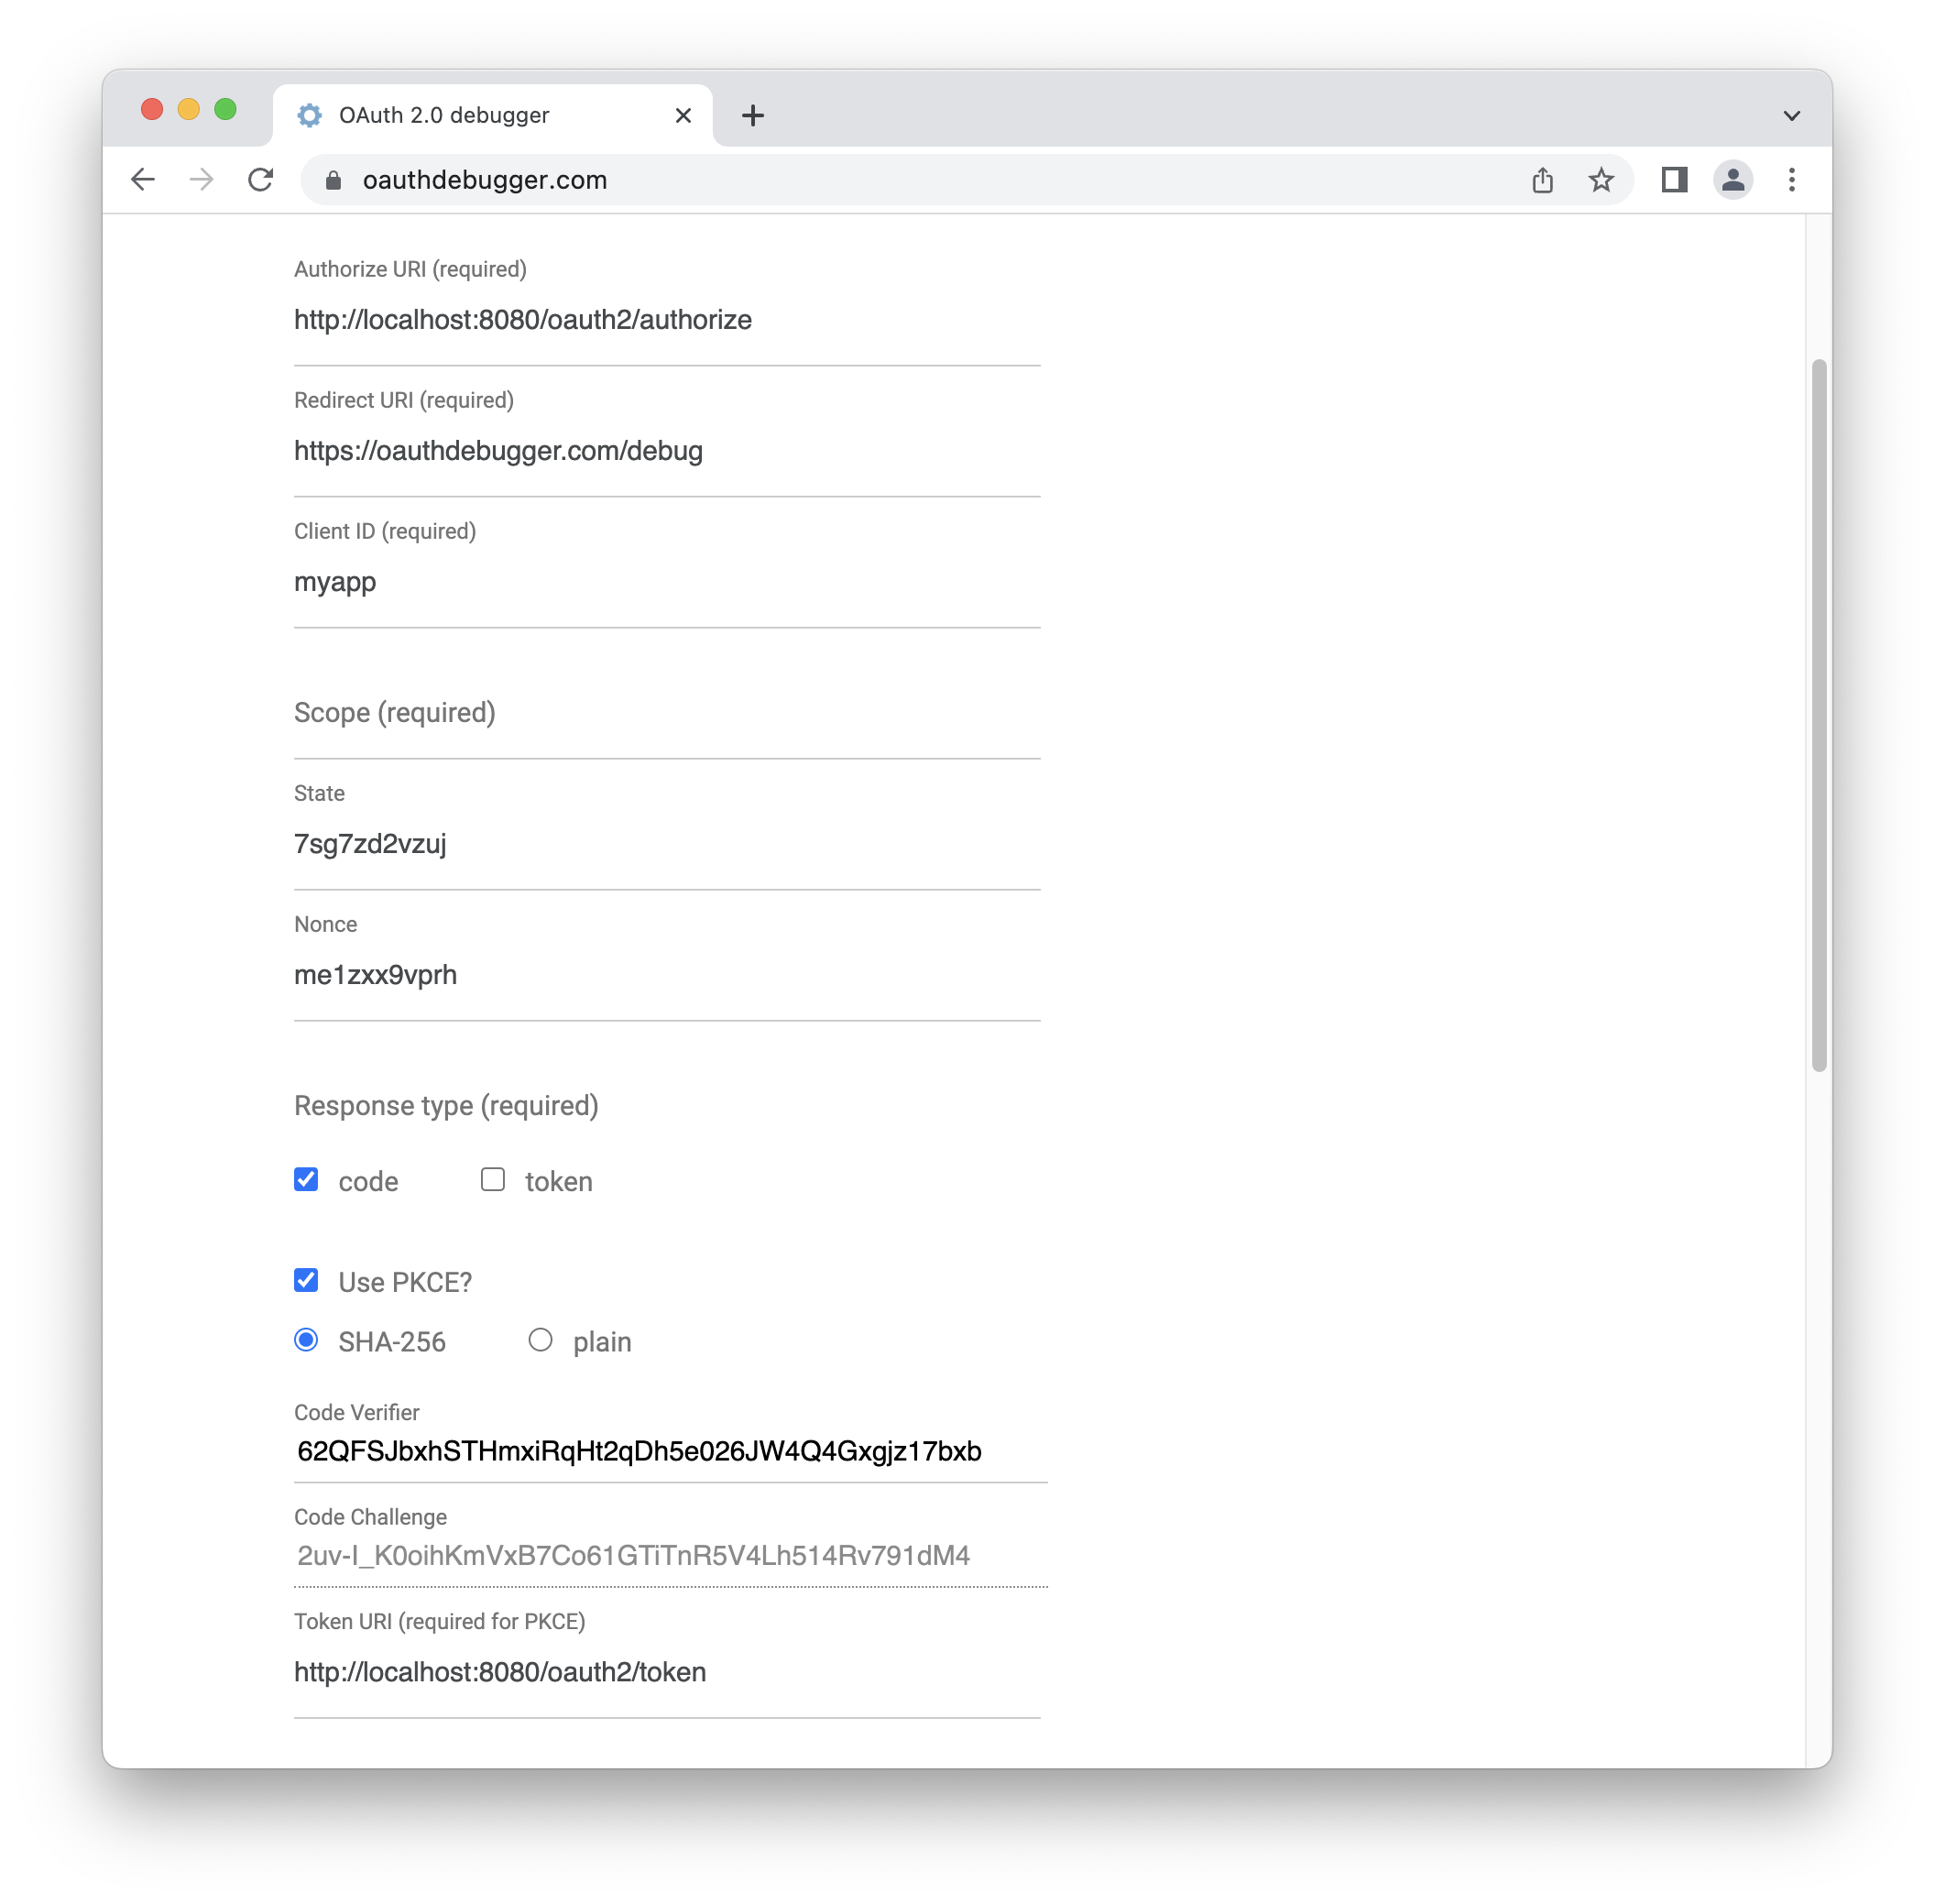
请记录下 Code Verifier 字段的内容,我们后续会用到。
点击页面底部的 SEND REQUEST 按钮。
这里应该会打开一个由 Jmix 应用程序提供的特殊登录表单,可以输入已有账号的凭证。
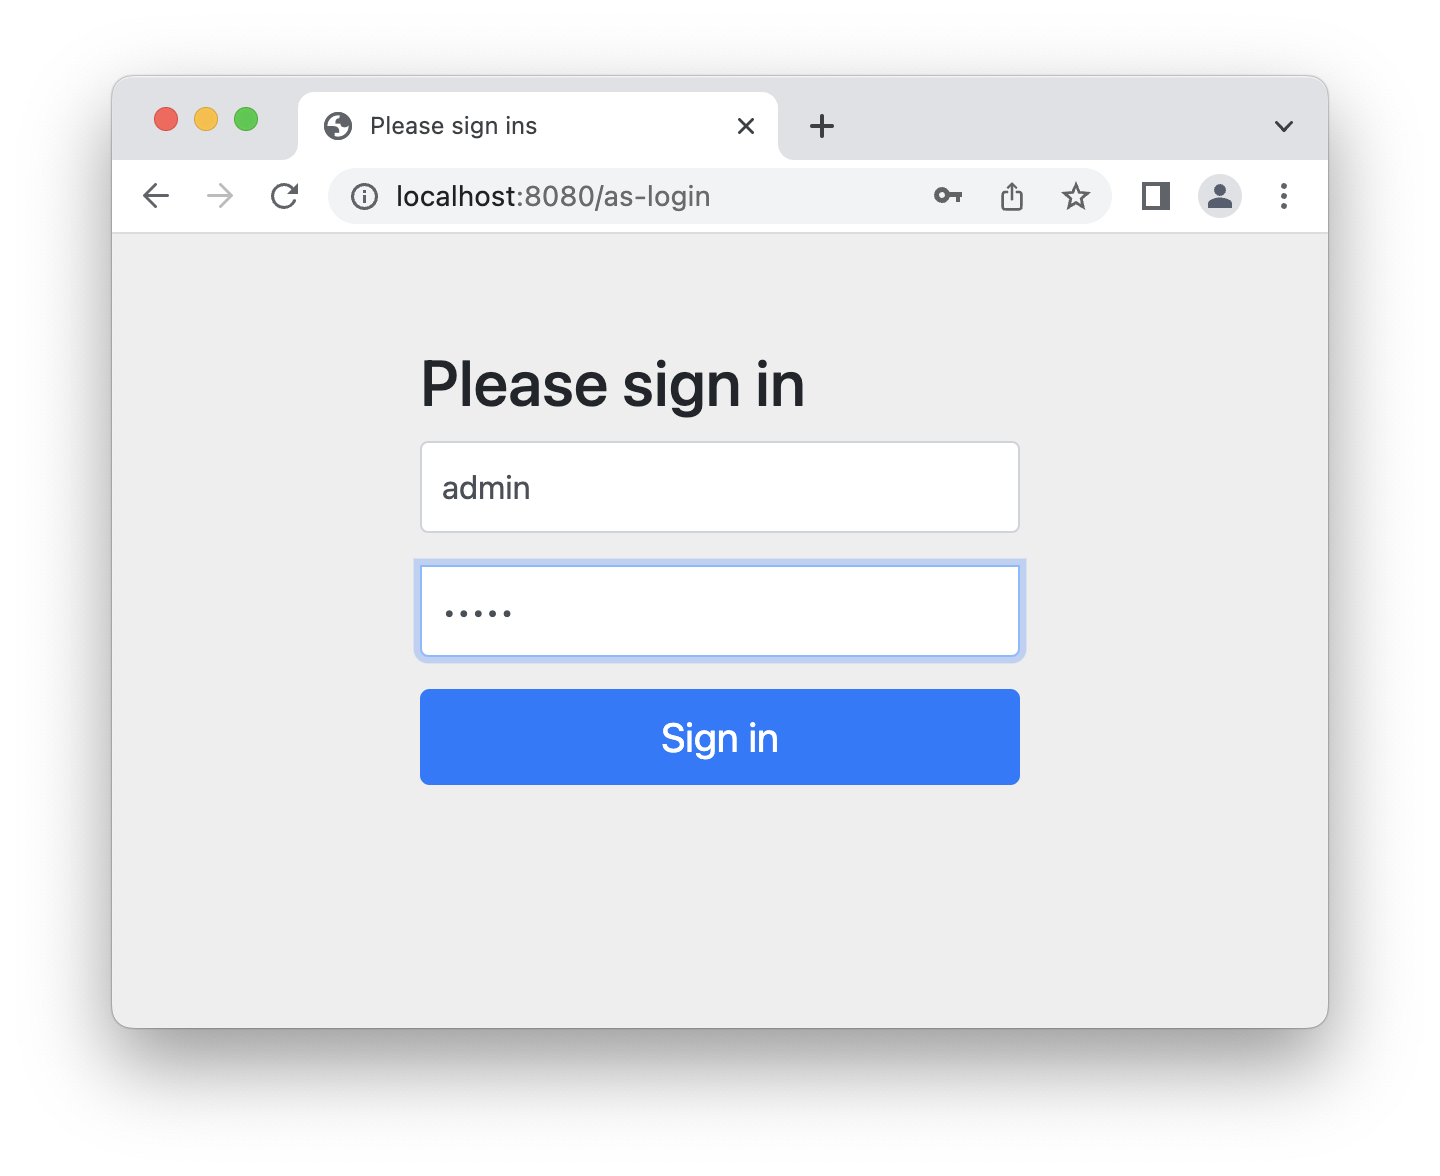
完成后续所有步骤后,拿到的 access token 是与填写的用户相关联,之后的所有对 Jmix REST API 的请求也都会考虑该用户的权限(资源角色和行级角色)。
如果凭证有效,则会自动重定向到 https://oauthdebugger.com/debug 网页,这是在 application.properties 中配置的。授权码必须添加在 URL 中的 code 参数中,例如,https://oauthdebugger.com/debug?code=BdgQArzTaj_xna_a0-PoUIQwszMR0xPkToxcktd5wPe4SbO18qBYStqJePOPNaoe9cuIJe0nac0cw0yVC9Iv3SeofEYbMZhMKldoJQQwcBUnBTfp2AyQayDlaE8KPaCf&state=sujodv3j7eh
用该授权码交换一个 access token 时,需要执行另一个对 Jmix token 端点的 HTTP 请求。我们这里用 curl 命令,其中会用到之前记录的 code_verifier 值:
curl -X POST http://localhost:8080/oauth2/token \
   --basic --user myapp:myappsecret \
   -H "Content-Type: application/x-www-form-urlencoded" \
   -d "grant_type=authorization_code" \
   -d "redirect_uri=https://oauthdebugger.com/debug" \
   -d "code=c9ehHTJyT84mX-v2v2Q8sbAxkAFYg-gjfZDJImu5ExZVGLUyWn_J2-afs_m7kiv7MwjD-XXVRQtwz_6H-JTb4NvuWiUw6-5vrF75LtyNYAovuvSJQ680nQwv3PbhB4Y-" \
   -d "code_verifier=zdhRZIStXgwonFfvNYo2oI6nYuYt022LdcZF8eh3LGE" \
   -d "code_challenge_method=S256"
结果如下:
{
  "access_token":"Q6zvq8qGMUrN1VgouerOp4TJrry2f8oqL6mix8lDW-VKD_JHZXx0xv-ZZ_Zg_qgaHNw_wmeX6Qs0SlvEiFCyHqJ-PjqsnNkfF1XNKCAV43GQO0QeqmuV2sMiLgzY-m5r",
  "refresh_token":"DSINNaxmYykPrs3bDaKqaRgnrQDeZYInEF0yjtj2Vzkf5Nbf7OA0N09uQFN97MUmqaHBIXVxJFPQHtIbn-BM6Di035P68NqiIVfCawR5m6qQ6HbD6pQsCqAo-FBYAMqv",
  "token_type":"Bearer",
  "expires_in":299
}
自定义登录表单
本节介绍如何将授权服务扩展组件提供的标准登录页面替换为自定义的页面。
首先,创建一个登录表单模板。授权服务扩展组件中包含了 Thymeleaf 模板引擎,可以直接用于自己的登录表单。
在 src/main/resources/templates 目录创建一个名为 my-as-login.html` 的新文件。这是 Thymeleaf 搜索模板的默认位置。
<!DOCTYPE html>
<html xmlns:th="http://www.thymeleaf.org">
<head>
    <meta name="viewport" content="width=device-width, initial-scale=1">
    <link rel="stylesheet" th:href="@{/my-as-login/styles/bootstrap.min.css}">
    <link rel="stylesheet" th:href="@{/my-as-login/styles/as-login.css}">
    <title>Please sign in</title>
</head>
<body>
<form class="as-login-form" th:action="@{/as-login}" method="post">
    <img th:src="@{/my-as-login/icons/as-login-icon.png}" class="mb-3 mx-auto d-block">
    <h2>Please sign in</h2>
    <div class="alert alert-danger" th:if="${param.error}">Bad credentials</div>
    <div class="mb-3">
        <label for="username" class="form-label">Username</label>
        <input type="text" class="form-control" id="username" name="username" required autofocus>
    </div>
    <div class="mb-3">
        <label for="password" class="form-label">Password</label>
        <input type="password" class="form-control" id="password" name="password" required>
    </div>
    <button type="submit" class="btn btn-primary w-100">Sign in</button>
</form>
</body>
</html>
这里表单用到了分别位于 /my-as-login/styles/** 和 /my-as-login/icons/** 路径中的样式和图片资源。
下载已经编译好的 Bootstrap CSS 文件并复制 bootstrap.min.css 到 src/main/resources/META-INF/resources/my-as-login/styles 目录:
META-INF/resources 是 Spring 搜索静态资源的默认位置之一。
|
在 src/main/resources/META-INF/resources/my-as-login/styles 目录创建 as-login.css 文件:
.as-login-form {
    max-width: 300px;
    position: absolute;
    top: 50%;
    left: 50%;
    transform: translate(-50%, -50%);
}

.as-login-form img {
    width: 72px;
    height: 72px;
}
任意找一个图标(例如,可以用 Jmix 的 logo),重命名为 as-login-icon.png,然后放置于 src/main/resources/META-INF/resources/my-as-login/icons 目录。
下一步,需要配置 Spring Security,允许访问样式和图片文件。创建一个 Spring 配置开放登录表单的资源 URL。
@Configuration
public class MySecurityConfiguration {

    @Bean
    @Order(JmixSecurityFilterChainOrder.FLOWUI - 10) (1)
    public SecurityFilterChain securityFilterChain(HttpSecurity http) throws Exception {
        http.securityMatcher("/my-as-login/icons/**", "/my-as-login/styles/**")
                .authorizeHttpRequests((authorize) -> authorize.anyRequest().permitAll());
        return http.build();
    }
}| 1 | 这个 bean 的优先级必须高于 FlowuiSecurityConfiguration。 |
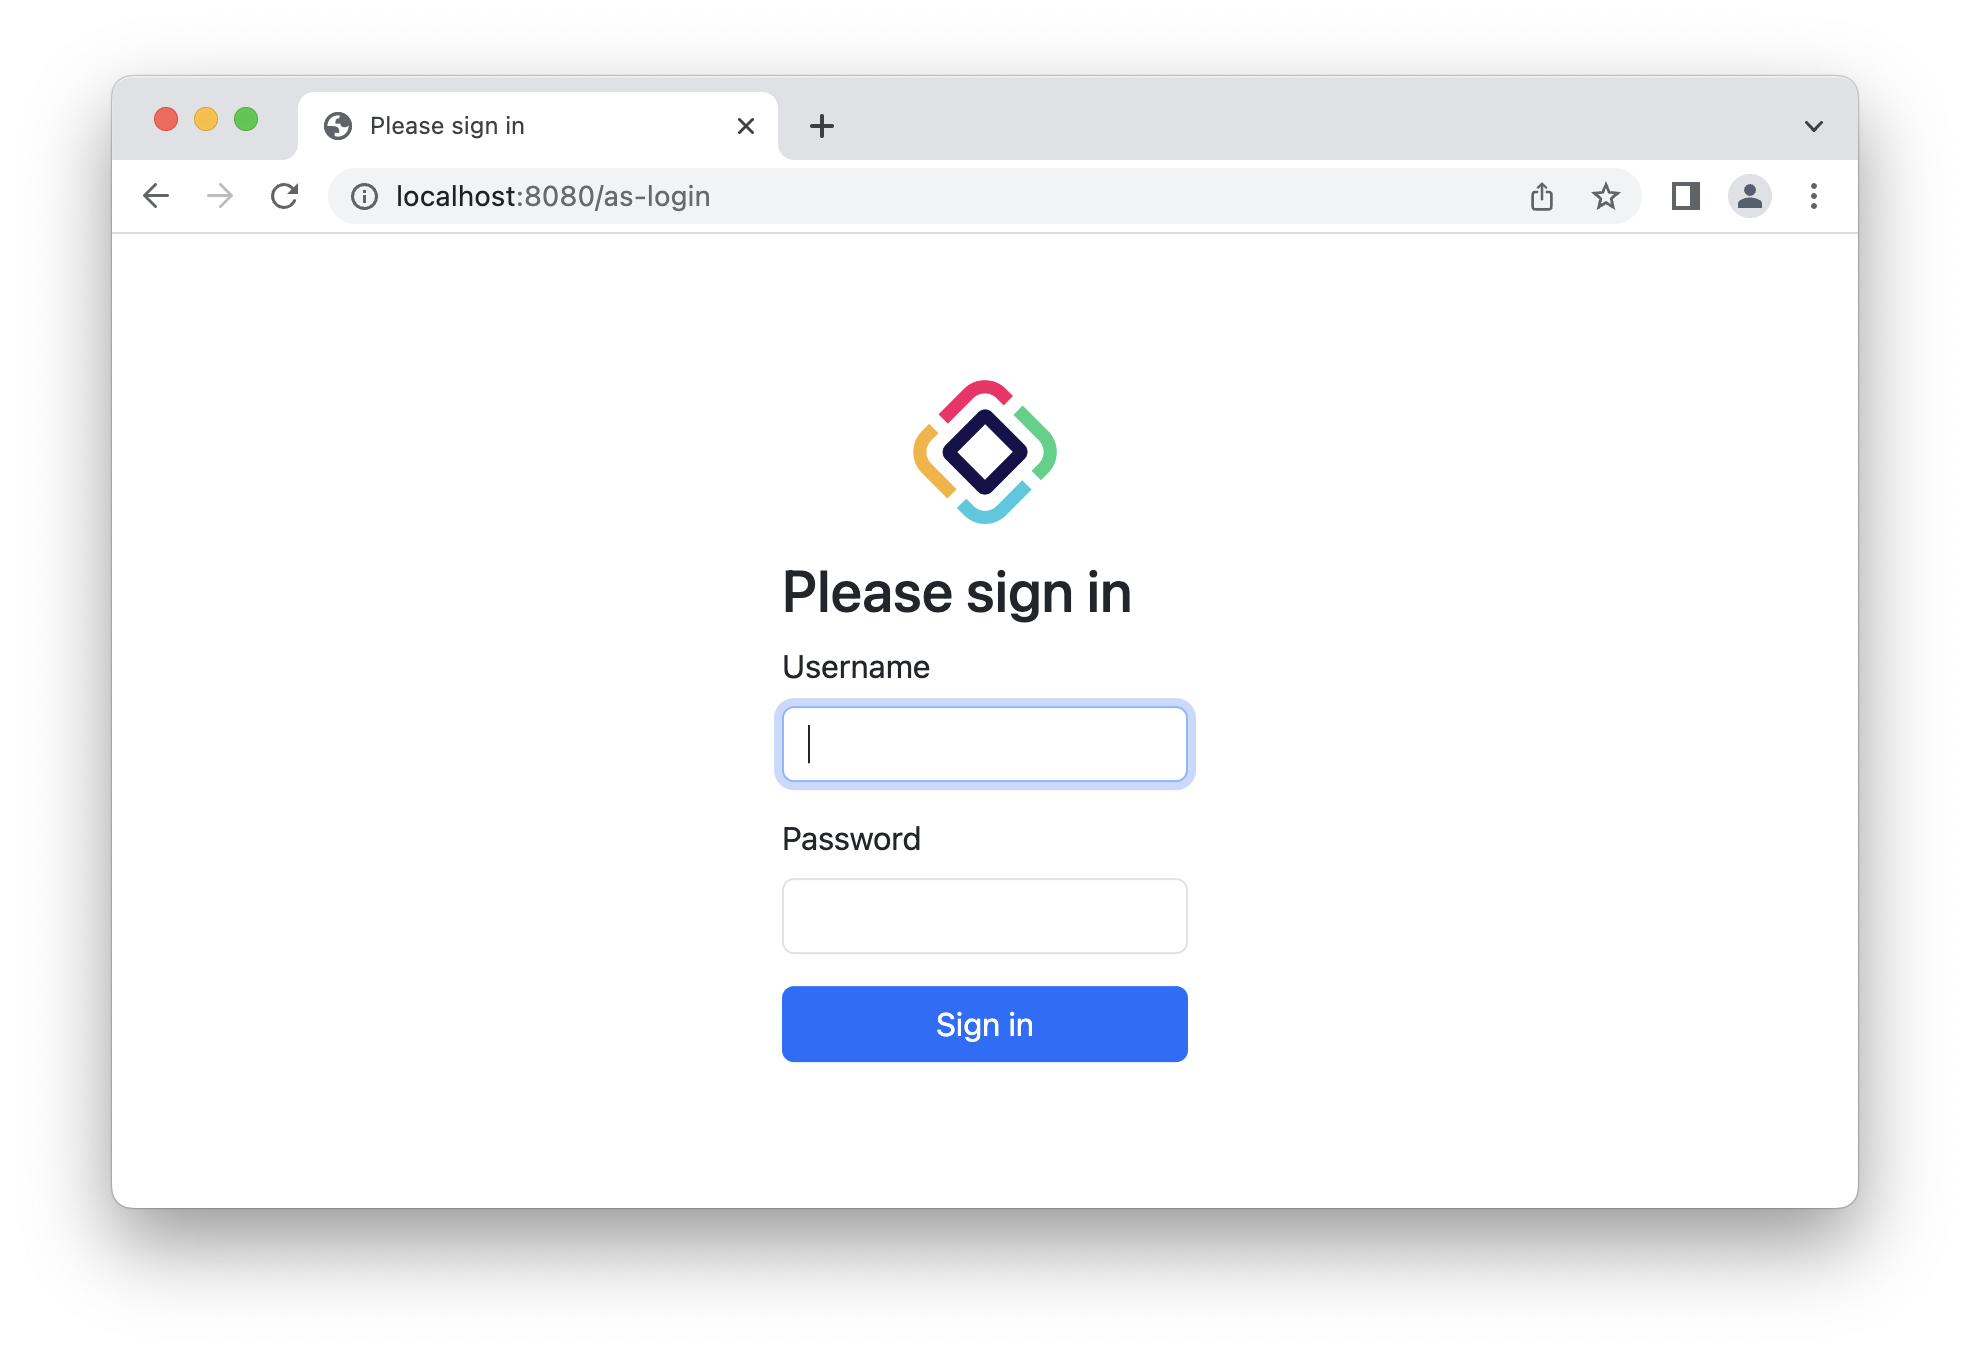
最后,应用程序需要使用新的登录表单而非授权服务组件提供的默认表单,使用下面的属性配置:
jmix.authserver.login-page-view-name = my-as-login.html完成了上述步骤后,授权服务的登录页应该与下面的类似:
资源所有者密码凭证授权
资源所有者密码凭证授权已从 OAuth 2.1 规范中删除,因为不够安全(用户凭证应直接在客户端应用程序中输入)。但是,在某些情况下可能还是需要使用这种方式,因此 Jmix 框架依然提供支持。可以在 OAuth 2.0 规范 中查阅有关资源所有者密码凭证授权的更多信息。
简单来说,这个流程可以获取一个具有真实 Jmix 应用用户权限的 access token。Jmix 用户凭证在请求体中传递。
| 资源所有者密码凭证授权可以用在信任、旧版或高度可控的环境中,并且此时没有其他更加安全的选择。 |
若要使用这个流程,需要在 application.properties 文件中为客户端注册 “password” 授权类型:
# set authorization-grant-types=password if you need only access_token to be returned,
# set authorization-grant-types=password,refresh_token if you also want a refresh token to be issued
spring.security.oauth2.authorizationserver.client.myclient.registration.authorization-grant-types=password
完整的应用程序属性配置如下:
# myapp is a client id that you should pass in a basic authentication for the token endpoint
spring.security.oauth2.authorizationserver.client.myclient.registration.client-id=myapp

# mysecret is a client password that you should pass in a basic authentication for the token endpoint
spring.security.oauth2.authorizationserver.client.myclient.registration.client-secret={noop}mysecret

# set authorization-grant-types=password if you need only access_token to be returned,
# set authorization-grant-types=password,refresh_token if you also want a refresh token to be issued
spring.security.oauth2.authorizationserver.client.myclient.registration.authorization-grant-types=password

# this property indicates that client credentials (e.g. myapp, mysecret) must be passed in the Authorization header
spring.security.oauth2.authorizationserver.client.myclient.registration.client-authentication_methods=client_secret_basic

# use opaque tokens instead of JWT
spring.security.oauth2.authorizationserver.client.myclient.token.access-token-format=reference

# access token time to live
spring.security.oauth2.authorizationserver.client.myclient.token.access-token-time-to-live=1h

# refresh token time to live
spring.security.oauth2.authorizationserver.client.myclient.token.refresh-token-time-to-live=24h
默认情况下,如果 jmix.authserver.use-in-memory-authorization-service 设置为 false,则 token 经序列化后存储在数据库。使用密码授权时,token 包含 User 实体,因此,需要在应用程序中定义一个 JdbcOAuth2AuthorizationServiceObjectMapperCustomizer 类型的 bean,实现如下:
@Bean
JdbcOAuth2AuthorizationServiceJsonMapperCustomizer tokenObjectMapperCustomizer() {
    return (JsonMapper.Builder builder) ->
            builder.addMixIn(User.class, DefaultOAuth2TokenUserMixin.class);
}
这里的 User 是你的用户实体类。
如果在使用 token 的过程中出现 java.lang.IllegalArgumentException: The class … is not in the allowlist 异常,则表示你的用户实体包含了无法序列化的字段。那么,需要创建一个扩展 DefaultOAuth2TokenUserMixin 的类,并在 JdbcOAuth2AuthorizationServiceObjectMapperCustomizer bean 中使用,示例:
package com.company.backend.security;

import com.company.backend.entity.Department;
import com.company.backend.entity.UserStep;
import com.fasterxml.jackson.annotation.JsonIgnore;
import io.jmix.authserver.service.mapper.DefaultOAuth2TokenUserMixin;
import io.jmix.core.FileRef;

import java.util.List;

public class OAuth2TokenUserMixin extends DefaultOAuth2TokenUserMixin {

    @JsonIgnore
    private Department department;

    @JsonIgnore
    private List<UserStep> steps;

    @JsonIgnore
    private FileRef picture;
}
获取 token 时,客户端需要发送一个 token 端点的请求。请求的 content 必须是 application/x-www-form-urlencoded。grant_type 参数必须是 password。username 和 password 参数分别使用 Jmix 用户的用户名和密码。请求头中的 Authorization 需要使用 application.properties 中注册的 client id 和 secret 基本认证。下面的示例中,client id 和 secret 分别是 myapp 和 mysecret。
curl 请求如下:
curl -X POST http://localhost:8080/oauth2/token \
   --basic --user myapp:mysecret \
   -H "Content-Type: application/x-www-form-urlencoded" \
   -d "grant_type=password" \
   -d "username=user1" \
   -d "password=pass1"
结果如下:
{
  "access_token":"Q6zvq8qGMUrN1VgouerOp4TJrry2f8oqL6mix8lDW-VKD_JHZXx0xv-ZZ_Zg_qgaHNw_wmeX6Qs0SlvEiFCyHqJ-PjqsnNkfF1XNKCAV43GQO0QeqmuV2sMiLgzY-m5r",
  "token_type":"Bearer",
  "expires_in":3599
}
如果需要请求中返回一个刷新 token,请为客户端注册 "refresh_token" 授权:
spring.security.oauth2.authorizationserver.client.myclient.registration.authorization-grant-types=password,refresh_token刷新 token 授权
刷新 token 授权的内容可以参阅 OAuth 2.1 规范。
| 刷新 token 授权可以使用已有的刷新 token 获取新的 access token 而无需用户操作。 |
客户端需要注册 "refresh_token" 授权:
# enable required grant types
spring.security.oauth2.authorizationserver.client.myapp.registration.authorization-grant-types=authorization_code,refresh_token
用刷新 token 获取新的 access token 时,需要发送一个 token 端点的请求。curl 命令如下:
curl -X POST http://localhost:8080/oauth2/token \
   --basic --user myapp:myappsecret \
   -H "Content-Type: application/x-www-form-urlencoded" \
   -d "grant_type=refresh_token" \
   -d "refresh_token=zN2i5JooLfi0iqNJzaE-iiEiC2oHStv_X-kOaLuqX6ZNyRCs0EaNLik1xZrz-TPHfNEahLS2c402S_1kAO09K2x6oi3LFgpFoyr9snwE3ZXJ3Lp5AVH7s4YUBOXi0VRc"