创建通知
可以通过管理界面或者编程式创建通知。
管理界面
在应用程序安装此扩展组件之后,主菜单会包含 Notifications(通知消息) 项。Notifications browser(通知消息) 视图展示创建的通知列表以及管理通知的按钮。
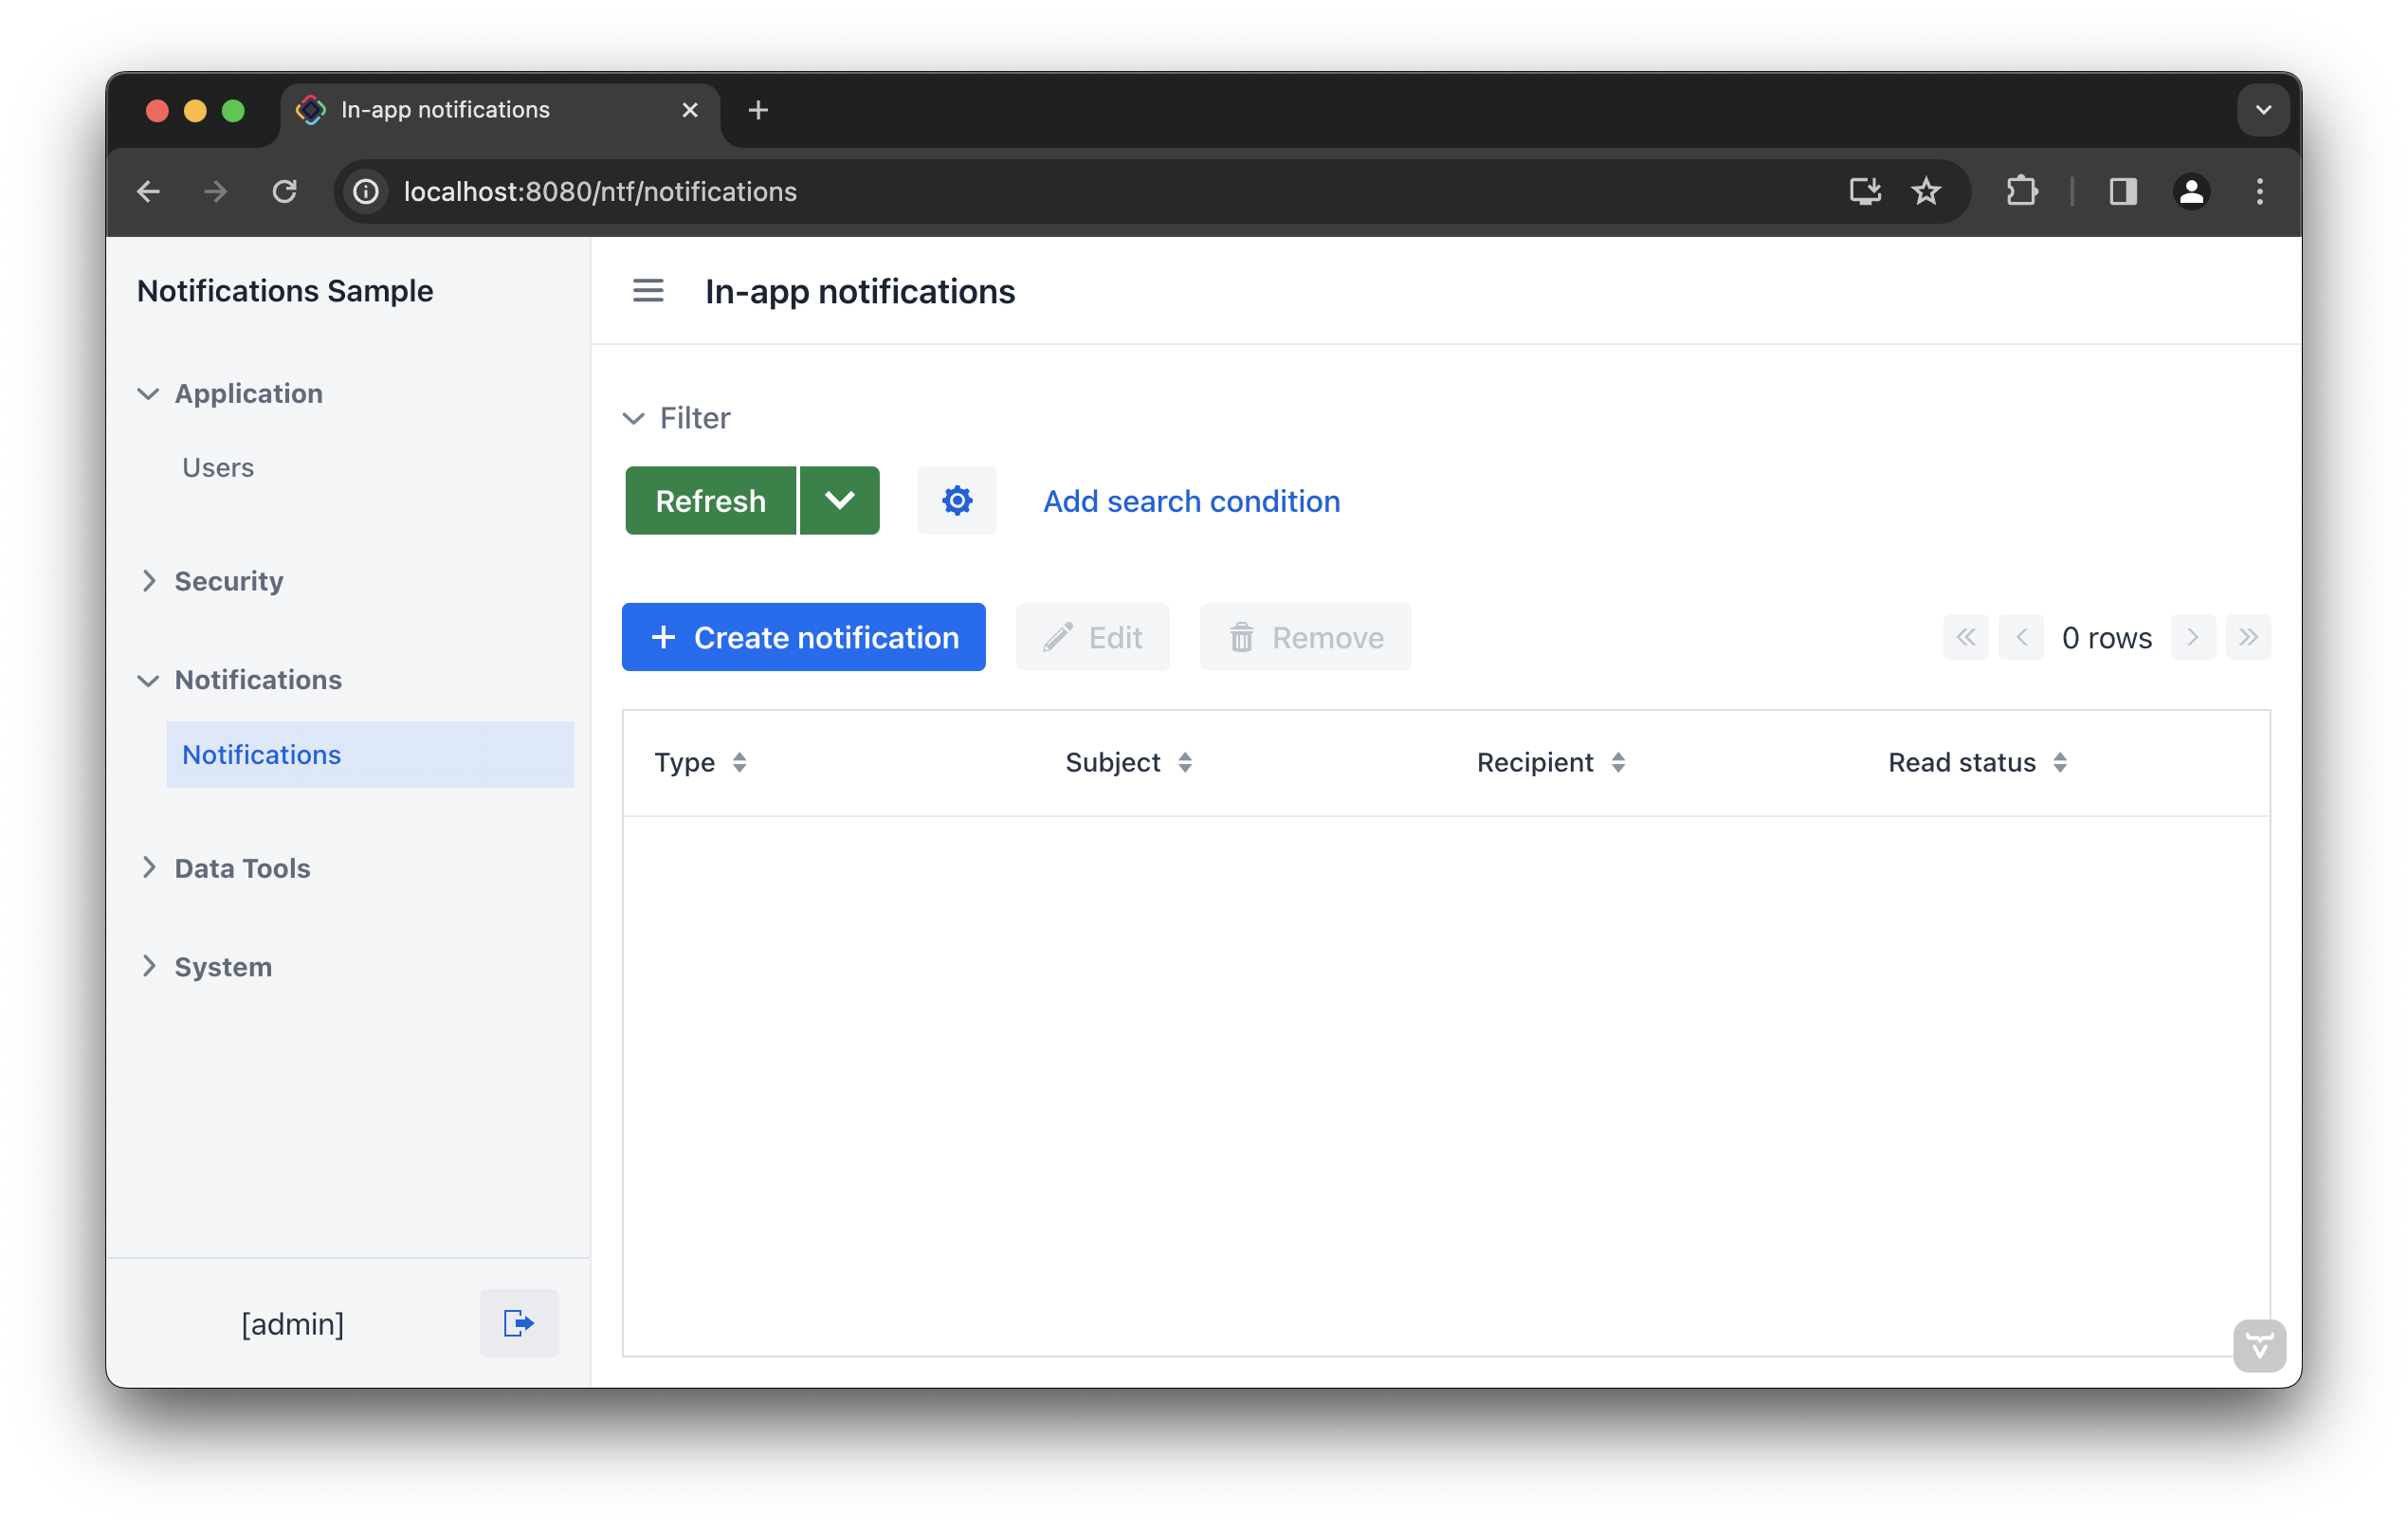
点击 Create notification(新建通知) 按钮后会展示通知编辑界面。

有下列字段:
编程式创建
NotificationManager 服务提供给用户发送通知的方法。
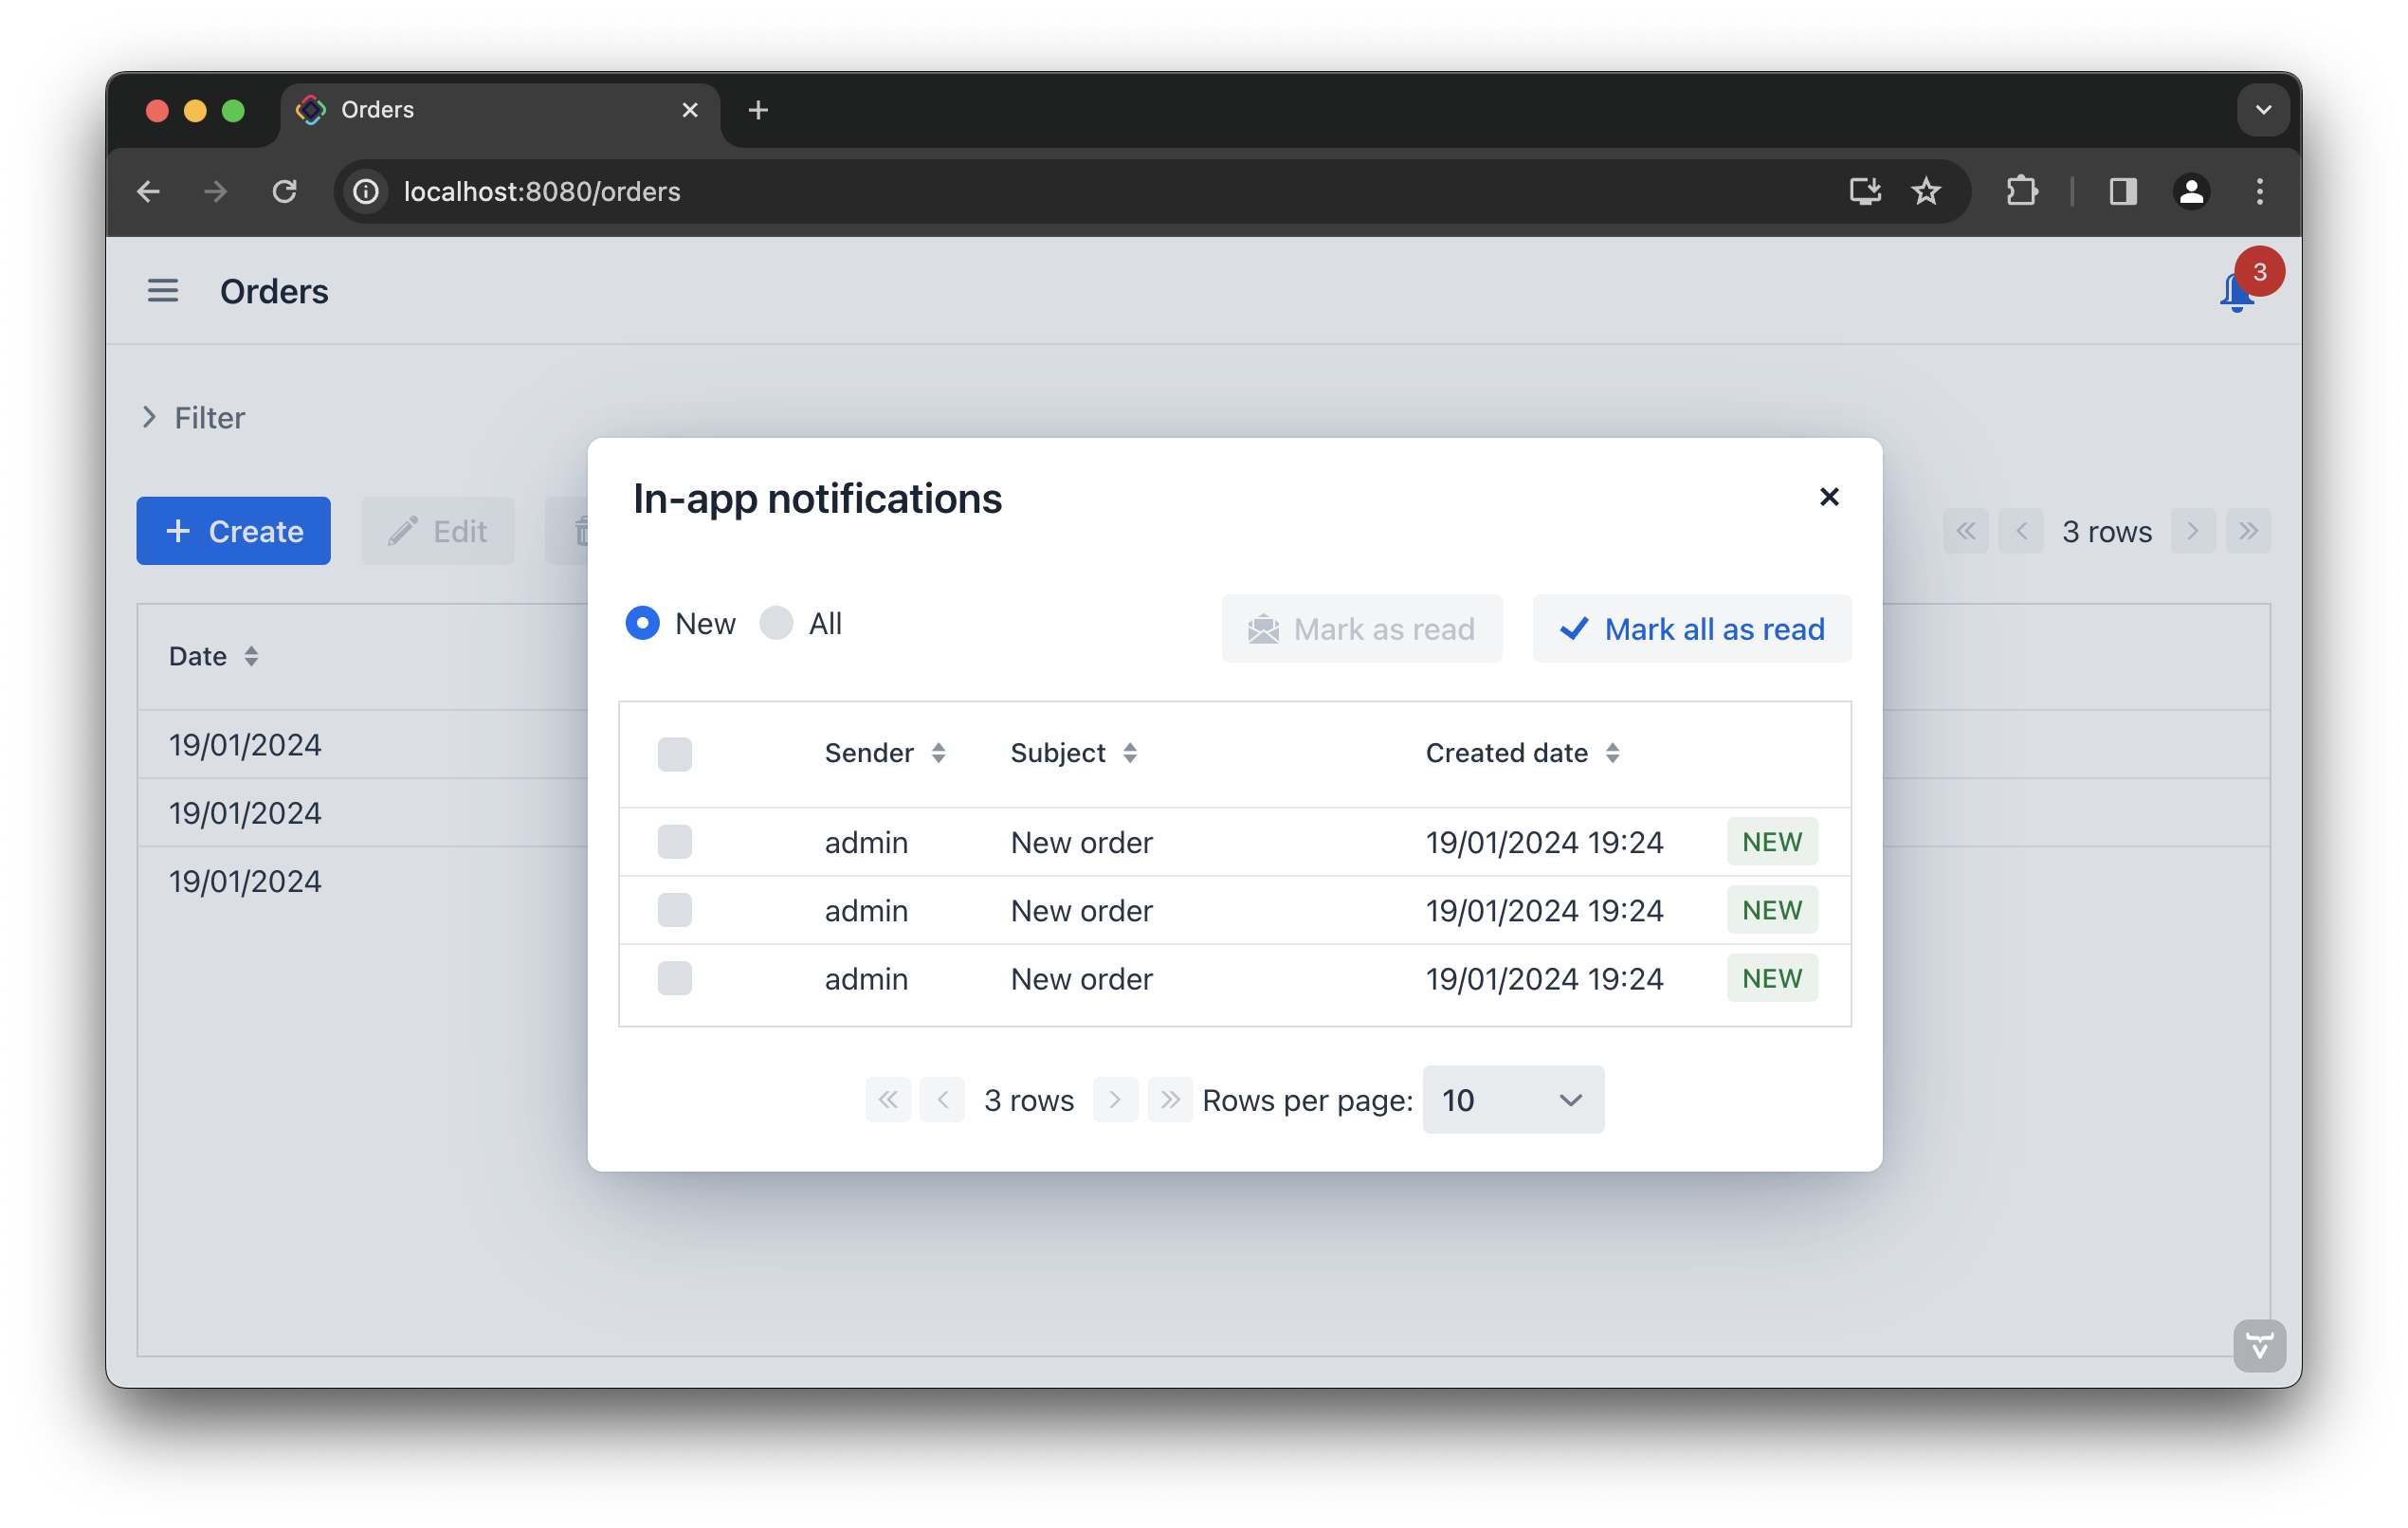
下面示例中,每当新订单(Order)创建时,会给用户发送通知。
此场景属于 实体生命周期事件 类型。当创建新的订单实体时,必须执行该逻辑。在数据库中创建、更新或删除实体时,Jmix 框架会发布 EntityChangedEvent。
需要定义一个 Spring bean 作为事件监听器处理该事件。监听 EntityChangedEvent 的方法需要使用 @TransactionalEventListener 注解,以确保仅在实体已提交到数据库后执行。
import com.company.notificationsex1.entity.Order;
import io.jmix.core.DataManager;
import io.jmix.core.event.EntityChangedEvent;
import io.jmix.notifications.NotificationManager;
import io.jmix.notifications.channel.impl.InAppNotificationChannel;
import io.jmix.notifications.entity.ContentType;
import org.slf4j.Logger;
import org.slf4j.LoggerFactory;
import org.springframework.beans.factory.annotation.Autowired;
import org.springframework.stereotype.Component;
import org.springframework.transaction.annotation.Propagation;
import org.springframework.transaction.annotation.Transactional;
import org.springframework.transaction.event.TransactionalEventListener;

@Component
public class OrderEventListener {

    private static final Logger log = LoggerFactory.getLogger(OrderEventListener.class);
    @Autowired
    private DataManager dataManager;
    @Autowired
    protected NotificationManager notificationManager;

    @TransactionalEventListener (1)
    @Transactional(propagation = Propagation.REQUIRES_NEW) (2)
    public void onOrderChangedAfterCommit(final EntityChangedEvent<Order> event) {
        try {
            if (event.getType() == EntityChangedEvent.Type.CREATED) {
                Order order = dataManager.load(event.getEntityId()).one();

                notificationManager.createNotification() (3)
                        .withSubject("New order")(4)
                        .withRecipientUsernames("admin") (5)
                        .toChannelsByNames(InAppNotificationChannel.NAME) (6)
                        .withContentType(ContentType.PLAIN) (7)
                        .withBody("A new order with number " + order.getNumber() + " is created.") (8)
                        .send(); (9)
            }
        } catch (Exception e) {
            log.error("Error processing order", e);
        }
    }
}| 1 | 在事务提交后监听 EntityChangedEvent,确保订单记录已存储在数据库中。 |
| 2 | 为加载和保存数据开启一个新事务,这是因为当前事务在提交完成后已经关闭。如果没有这个注解,dataManager.load() 或 dataManager.save() 会由于无激活事务而失败。 |
| 3 | 初始化 NotificationRequestBuilder,创建一个 NotificationRequest 对象。 |
| 4 | 定义通知的主题。 |
| 5 | 用提供的 username 设置收件人。 |
| 6 | 用名称确定通知的发送通道,可以使用 in-app 或 email。 |
| 7 | 设置通知正文内容类型。 |
| 8 | 设置通知正文。 |
| 9 | 创建并发送通知请求。 |
| 点击操作面板的 Code Snippets 自动生成 发送消息的代码。 |
本页是否有帮助?

感谢您的反馈